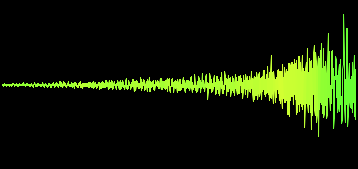
Today, I will talk about something I have come to love when making house music, or any music with a nice forward swing. The reverse snare (or any resonating percussion sound really). This old fashioned technique has been applied to countless songs, and has become more or less a STANDARD rather than an effect. This application of the reverse snare
pre-leading a snare or clap...can give your song the total groove you were looking for. It helps put an extra little punch in the groove, and lets to have some massive control over how you want your song to swing. Using this technique with other concepts of moving high hats, snares, percussion...forward and backward in time...can give your song a totally unique swing. You can spend hours upon hours just playing with these ideas, and watch your groove transform from a robotic drum machine, to the groove of heaven. Ha.
As you can see, I find these concepts very important. But again, today, we will just talk about the reverse snare.
Now, in house music, there are multiple places you can put a reverse snare within your drums. Lets talk about some key places...and how I feel about them.
1. (my favorite) On the 2
nd snare sound of a 4 bar house loop. (just before 1.4). When making house music, you usually have your snares on the 2
nd and 4
th bars. Adding a reverse snare as a sort of small build up on the 2
nd snare sound will help swing it more than the swing you already have applied to your snares.
2. Same concept as 1, but instead of being on the 2
nd snare, you put it on the first.
3. Another cool option is to put it at the very end up the loop, so the reverse snare
pre-leads the first kick in the loop. (Somewhere just before 1.4.4). This will give a swing at the very end as it comes around and hits the kick. Caution must be applied here so that your reverse snare length does not hit with the peak of the coming kick.
4. Same concept as 3, but on ANY kick within the loop.
5. Another weird one I hear recently, is right AFTER the 2
nd snare. So it swells just after the snare. I
dont know what the thinking is behind this, but it does add an interesting swing in the right conditions.
6. Also, adding a reverse snare on any stab element which is standing at the
foreground of the song can really swing the stab without actually moving it in time.
Of course there are other reasons to use this...but the main reason is to give a MINI build up to one of your swinging percussion elements. It can be applied at high db levels, or low db levels, each having their own distinct effect on the groove of the track.
Lets begin with how to do it. First off, you are going to need....obviously....kick, snares or claps, an extra snare for reversing, and possibly other 1/16
th note elements so you can feel a little more swing of the groove. Its hard to tell a swing with ONLY the elements you are making...and it is best to work on the swing once you really have your sounds chosen already for shakers, and other fast percussive elements. You will feel the TOTAL groove, and not just the groove of the kick, snare, and reverse
HH.
So, I am using my elements sections, but you can see, I have added an EXTRA AUDIO TRACK, and an EXTRA midi track (in green) beside my snare to do this reverse snare.
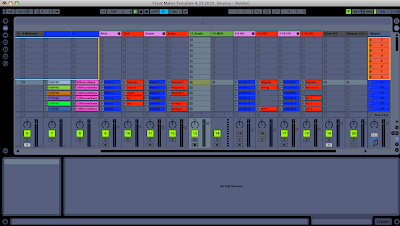
Now, for those of you who are familiar with my elements section, this wont look new. For all of you who
dont know what this is, its basically all the pink and red tracks...which make up my drums section. I have other blogs about it. Basically, we will just be using the
SIMPLERS within the RED tracks to launch my snares and kick.
So now, pick out a snare and a kick to use. You can put a swing on the snare if you like to really get a nice house groove going. Here is what I got.
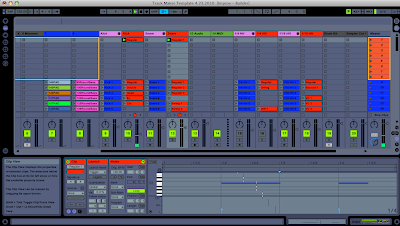
My snare is in clip view. If you look closely at the next picture, the snare is not ON the line, its a little forward in time. This is the swing I put on my snares.
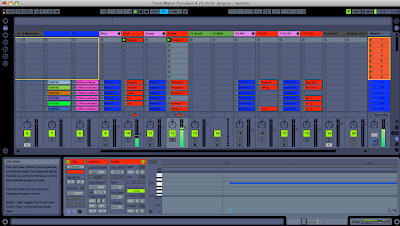 Ok
Ok. Now that I have a kick and snare going, lets get the reverse snare going. I am going to do this example like my 1.
explanation. Just before the 2
nd snare sound. So what you will need to do is find a nice resonating snare sound. One that has a little bit of a
reverb or at least length to its sound. When we reverse it, we want the sucking sound of that length. If it has a hard attack sound, that is fine too, we will be
cutting it off.
Now, take that sound and put it into your BLANK AUDIO TRACK like this.
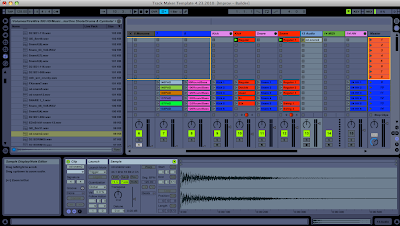
Now what we want to do is reverse it. It is as easy as pushing the little REV button in the sample box beside the clip editor. This will reverse your sample.
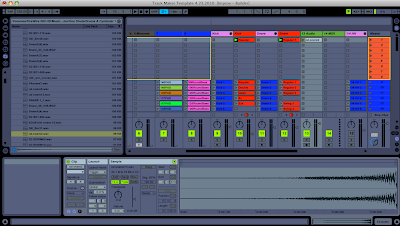
Now. We
dont want to use this in audio, we want a little more hands on control of the sound. So we will move it into a simpler, which is within my blank midi track. You can delete your audio track after this. I renamed my simpler midi track to REVERSE SNARE.
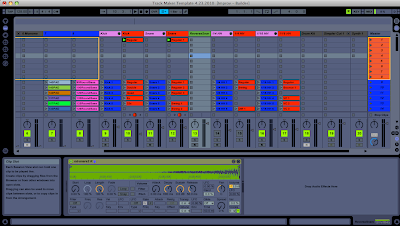
Now, you can either draw in a note, or play this with the keyboard or midi controller. Its nice to be able to change the transpose just by pushing buttons at this point so you can make sure your reverse snare and your actual snare are within the same key. Yes, they do have keys. You should even have to use the
detune to get these just right. You can even toss on a spectrum to
analyze the frequencies and move them closer together if you like...I usually use my ears.
Now, obviously, we just shorten the start point of this sample because of the silence at the beginning. We must also CHOP OFF the attack sound of the snare which is now at the end of the sample. This requires some playing around, but play with the start and stop points until you get a nice sound to work with. You will DEF be changing these in a minute once we put in the midi notes for it, because when heard in contrast with the kick and snare, it will need changed. For now, just get a nice short swooshing sound.
Something else to keep in mind. As you transpose a sample up by semitones, the sample will be played faster (normal science of pitch and speed). So, as you slow it down, the sample will be played back slower. So try whole octave differences even, even double
octaves, then shorten the LENGTH of the start and end markers. There are infinite
possibilities for swooshing sounds at this point.
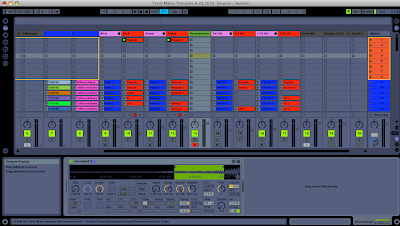
Now its time to put a midi note in for you to adjust the timing of. You can either draw it within your midi editor in simpler or play it in. Mine looks like this -
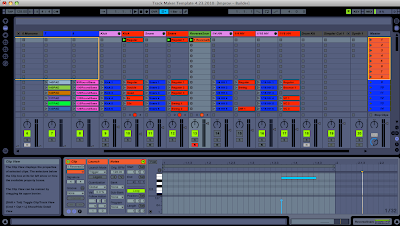
Something else to keep in mind, c3 in the midi editor is the sample being unaffected by pitch...so my note is not in that spot because I played it in. If you DRAW it in, just draw it in at c3 and then use the
transpose within the midi clip view to change it manually.
As you can see, it is JUST BEFORE the 1.4 marker because it will be leading into the 2
nd snare. Now, we need to move that puppy around with the grid off to get the exact sound we are looking for. Shut your grid off and start moving it forward and backward in time until you hear it sound right. You can adjust the note length also at this point. It would be best to adjust it so it ENDS just as the snare hits....however, sometimes, other cool effects can be made by making it end BEFORE or even AFTER the snare transient hits.
After toying around with those
parameters, I came up with this. It ends JUST after the 4
th bar because my snares are already SWINGING a little forward in time, so I wanted it to end just as they hit to accentuate the snares swing.
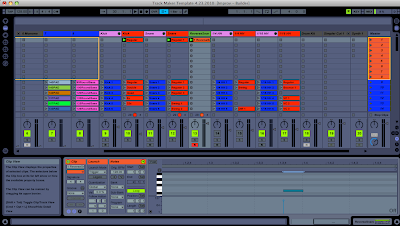
Now, the last little thing is to play with the attack (or other parameters, but attack is important). Because you have jumped forward with your start marker in your reverse snare, there should be a small audio JUMP as it comes in. You want this swoosh to be as smooth as possible leading into your snare (unless artistically you
dont, but its a good habit). So adjust your volume attack parameter within simpler. It also
doesnt hurt trying your filters attack also if you had a rather "tin like" snare sound and would like to filter out some of the high end, or you had a really deep snare, and you would like to use a higher WHOOSH sound, use a HP to filter it out. You can even just filter it OUT OF THE the attack with the filter envelope. But for now, I will just use the volume attack envelope -
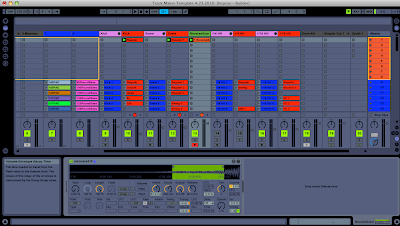
Now, you have a nice little swoosh leading into your snare. Finally, play with the volume. This is arguably the most important step. The volume in which that swoosh is applied, can drastically effect the groove, or more exactly...that little PUSH at the end of the loop. Even a very very small amount can add a lot to your loop. I find myself using this 90% of the time in very SMALL amounts. Even if you put it in some of your track, and then not in others, it can drastically change the groove in different parts of the track, without moving any elements in time. Its a trick on your brain....and to an untrained ear...it just makes their hips move more!
Hope this helped! Keep
makin tunes!!!
FroBot