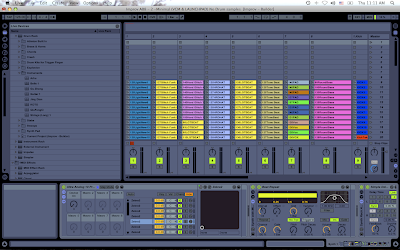
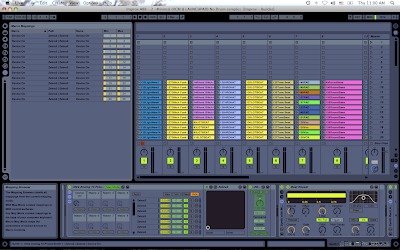
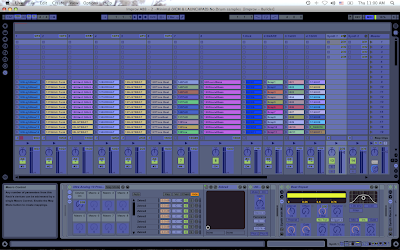
The first thing we want to do is make a new midi track and insert in a blank instrument rack. After that, we want to open the device chain window via the little button the the left of the instrument rack that looks like 3 lines. Now you have the device chain window open for dropping in instruments. Now, just drop in as many instruments (softsynths, ableton sounds, etc) as you like. In mine, I have 13 ZEBRA soft synths (but you can use different ones if you like) -
 Remember to not go TOO crazy within a chain because it does take a lot of CPU load if you have 20 or 30 synths up. Once you have all the synths put in that you want, you need to click the other 2 icons on the left side of the instrument rack so you can see your macros and also your softsynth box. (like the picture above)
Now, what we are going to be doing, is mapping the on/off buttons for each of the softsynths, to macro 1. To do this, follow these instructions -
1. Click the little map mode button above your macros. (everything will be green)
2. Click the on/off button of the 1st softsynth (to the left of the synth name)
3. Click MAP under Macro 1.
(Go to synth 2,3,4,etc... and repeat this process for all of your softsynths)
Now, what we have done is mapped the on and off to macro 1. (which we will later map to a knob on the controller)
Now, the key to this is changing the midi min/max of each of the on/off buttons so it works best with your controller.
Remember, with midi, you have 1 - 127 values on any given knob. I am using a microkontrol which happens to have tiny little CLICKS every time I move it. Its just how they made the controller...you can actually feel little clicks when you move the knob. Every click is one midi value UP or DOWN. So, in my example, my midi min/max are very close because I can feel 1 click, 2 clicks, etc. If you are using a really analog feeling knob, you may be better to make your mapping increments bigger. Mine is like this -
 My min and max are only 1 apart, for easy clicking on the midi controller. You may be better off doing something like this -
Min 1 Max 10
Min 11 Max 20
Min 21 Max 30
This is if your controller knob does not have the CLICKING feel that mine does. I happen to like the fact that it clicks, because I can easily tell how many midi values I am going up or down....so my min & max values are very low.
Now, you have a nice macro that will switch between all of your synths in that device chain. Last thing you need to do is go into your NORMAL mapping mode (top right of the ableton screen) and map that new macro to a knob on your controller like this -
 Now, you can easily toggle between all of your synths in the device chain just by moving one knob on your controller. What is also nice about this, is that you can go into any one of those softsynths and change the sounds to what you are looking for, and if will automatically save them to that set as long as you click SAVE within your ableton set.
Another nice thing, is that you can add effects (especially volume utility) to each individual chain to make sure each volume is exactly the same no matter which sound you switch too. This can be very important when playing live and switching through sounds in the middle of a jam. If you want your volumes to stay the same, either change the master volume within the softsynth, or, add a utility to the end of the chain. You can also add other effects to the chain if you would like that effect to always be on a certain row in your device chain. This can be nice if you make the SAME synth sound on a few of the devices, but have different effects on each so it sounds a little different throughout a certain jam. Very handy when you want to use a different effect than the ones you have mapped out to your controller already....and makes it easy to get rid of it when you are finished with it (just go to another synth in the chain that does not have it).
I really like this because it lets me switch through sounds that I have pre-made, and really like (just like save banks on a regular synth).
Anyway, thats it for mapping vst sound presets. Have fun improving!


No comments:
Post a Comment