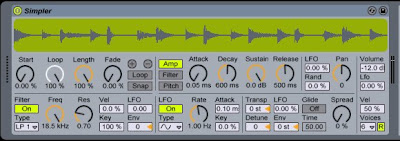
I dont know about you, but sometimes, I get really bored of using soft synths. For some reason, I feel like I seem to like things TOO quickly and dont end up playing around with the synthesis of a part, especially when I am making music at a relatively efficient speed. Sometimes, its nice to really destroy a sound and totally convert it from one sound to another. In this tutorial, we will be taking ANY sound really, and turning it into a bass-line. And quickly. This is not your "lets break down sound to its basics kind of tutorial"...it can be super useful!
**Something to NEVER FORGET about ableton, is that simpler is an amazing tool...because if you have ANY sample...you can place that sample within simpler, and then play it on your midi controller. This is almost like having a PRESET within a softsynth. So if you are sitting on many of gigs of samples, like I am...it can be really fun to reach into that sample bag, and make sounds from them. Also, the chances of hearing that particular sound (like a similar softsynth sound) in another track is much more rare, because you chose a sample...and then played it like an instrument.**
Today however, we will be making bass sound out of basically any sample. For todays lesson, I am just going to use a PIANO note. You could use a tom, woodblock, snare, kick, ANYTHING! We are really only using a few cycles of the actual waveform to produce a sound. This is a really FAST process too, so if you learn it, and master it...it can be your best friend for cool basslines.
So lets begin -
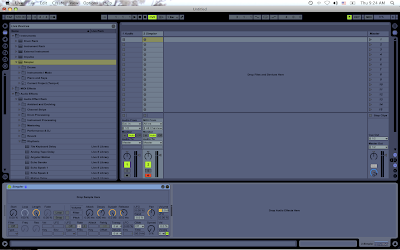
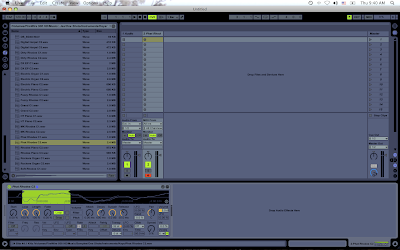
First, you want to open up a new midi track and place a simpler within a rack.
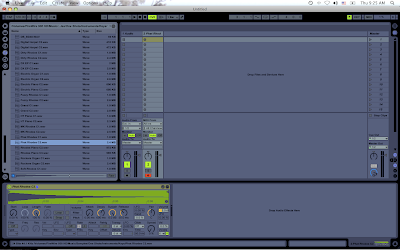
Now, you need to pick a sample. Anything will do really. I usually like to pick an instrument made sample because the waveforms are usually a little more stable. In this example - I chose a sample called "Phat Rhodes C2". Just drag and drop into the simpler.
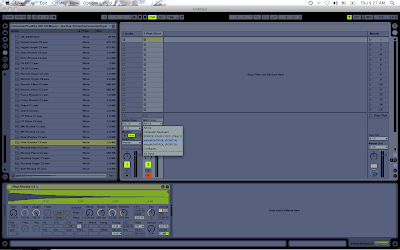
Also, check your ins and outs and make sure that ONLY the midi controller you want to use is connected. (I must do this because I am running a trigger finger, launchpad, nano kontrol, and microkorg at the same time...and can get confusing especially when making a track)
Now, what you are going to want to do, is get within simpler. Drag the end marker of the sample over to the beginning (close to the start marker). And then zoom into the tiny little spot that you are highlighting -
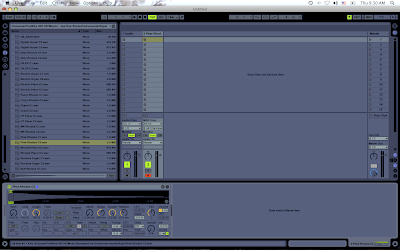
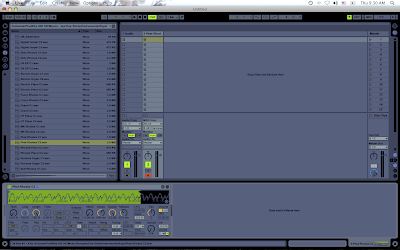
Turn on Loop -
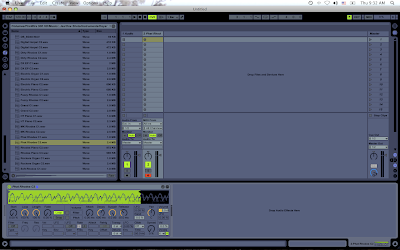
Now as you press a note on your keyboard, and you will hear an annoying, looping quickly sound. Move your end marker closer and closer to the start marker. Eventually you will be getting a toned sound. Now, the cool thing about this is, you can control the high frequencies of your bass from here. As a wave makes a full cycle, (one whole curve up and one whole curve down is one cycle) you have 2 great parameters to control here.
1. As you move the end marker closer to the start...the pitch will get higher and higher. Its ok to have a high pitched sound for now, we will transpose in a minute.
2. Depending on where you put the start and end markers....and the displacment from each other at start and end, you can create a nice high pitch clip sound which is great for bass.
In the following pictures, the first picture is creating a full cycle, with the start point and end point both starting and ending near the center line.
In the second picture, when the sound loops, it has to jump positions, so you get a nice click at the beginning.
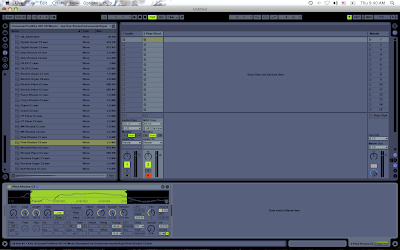
Very nice for bass. Now you can take one whole cycle, 2 cycles...whatever sounds good. There are tons of cool sounds you can make just by moving these markers.
Ok, now we need to transpose that note down into the bass notes using the transpose. At the same time, I am going to put on a spectrum to analyze this wave while its being made so we can decide a nice bass note to make out of it.
Here I am at middle C of my wave now -
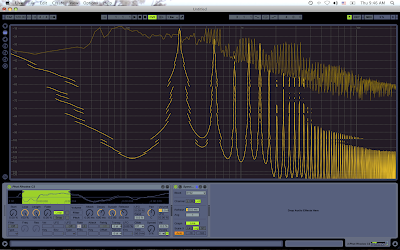 I love the pine tree wave there in the middle from the picture effect on macbooks. HAHA!
My bottom note is sitting at 291Hz. Def not bass range. Lets now use the transpose button within simpler to drop that down into the bass range -
Now I dropped it down to 65Hz (cause we are gonna make it play a little dubstep here in a bit too)
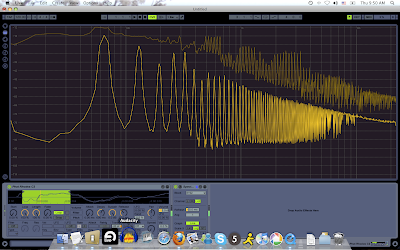
Remember, you can go lower, and use only the harmonics of the sound. You can throw on an EQ 8 later and roll off the lower bass sounds anyway if that makes it better sound. Its amazing how different parts of a wave will accent others differently...so be creative here too. You dont always have to follow your spectrum. Everything can be cleaned with EQs too.
Ok, now, once you got a sound you like, time to put on some filter envelopes to make it more unique.
So lets turn on the 2 filter buttons within simpler -
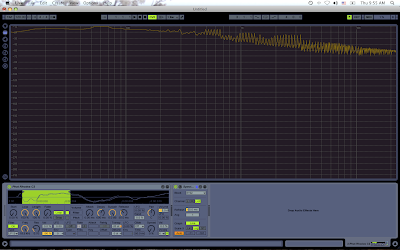
Now, once you are in here...key parameters are as follows -
Env Icon - Turn that puppy up if you are wondering why your envelopes arent working, dont forget.
Attack, Decay, Sustain, Release - Play to your likings.
Filter - Choose to your liking. I usually use a Low Pass on a bass, but all can service you well depending on what you are looking for.
Res - The resonance of the filter....excellent to a warped toned sound because the filter is really sucking in a FEW frequencies.
Play around with all of these to your liking. When I finished, mine was a really neat sound looking like this -
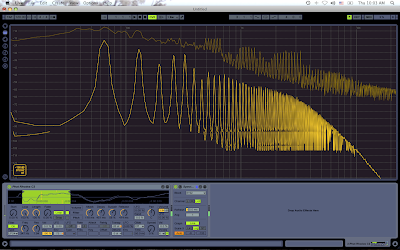
Also, you can use the "spread" icon to get a nice chorus sound...and also play with other parameters within it...its music, its infinite. But, you have a lot of options at this point. Dont forget to use your EQ8 to really make that bass sound nice. You can even use spectrum at this point to pick out certain harmonics to lift out with the EQ....because they are clearly viewable on spectrum. (each little hump).
Here I threw on the EQ8 and lifted a few of the harmonics of it -
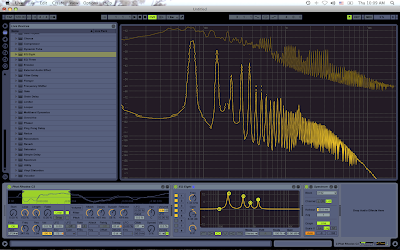
From here, its endless. Put anything you want to touch it up. You can even move the start and end markers within simpler to see what happens. It gets really fun in this area, because it is so grey!
Now for the little dubstep action...and a thing I think most ALL dubstep producers know...so maybe its pointless to mention...but, there is always someone out there who could use the info.
At this point, you can now play with the LFOs within simpler. You have your main LFO, and your Filter LFO. Both are nice if automated in compose view, or mapped out to a controller for a hands on approach. Lets try both. First turn on your LFO button in simpler. If you are going to do a hands on approach, it would be good to map out -
Filter Freq, Filter LFO, Filter Velocity, Main LFO, MAIN FREQ -
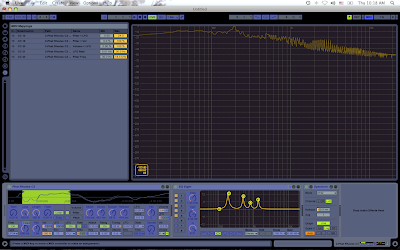
Now, I am not going into to much detail about how simpler works here....but, playing around with the tempo sync, LFO type, and then moving all those parameters around, you can make tons of unique styles of dubstep bass. Again, grey area of making music, there is no RIGHT way, there is just YOUR way....so find what you like here.
Well anyway, play around, and enjoy. Once you get the hang of this little trick, it can be VERY handy for making a unique sound on the fly and get you out of the normal habits of relying on softsynths.
Peace!
FroBot


5 comments:
Hey buddy,
Great tut. Thanks for sharing.
Mark
Thanks man! Follow my blog if you like! Keep makin tunes! Peace!
very good man!
Currently at work but will definitely try this when i get home! =D
Cheers!
will be trying this for sure
Brilliant blog.
I thought I might add a suggestion. Why not turn simpler into sampler for even more options?
Post a Comment