The first thing we are going to want to do is put in a new midi track with a drum rack in it. After that, open up the device chain, and within it, you want to put a SIMPLER. Make sure to open up the simpler SAMPLE view also. It should look like this -
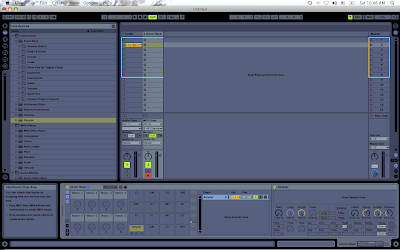
Now, what we are going to want to do, is map some of the options within the simpler to the macros on the left by clicking the MAPMODE (green) button. You can put anything you want, but if you would like a more mpc style control, I would recommend these -
Start
Length
Attack
Release
Transpose
Spread
(your choice)
Volume
The reason I leave a YOUR CHOICE in there, is because sometimes...you will want to use something based off of what you are making. Like controlling a LFO, or LFO frequency. Its nice to still have a free button to work with instead of using them all up. Mine looks like this -
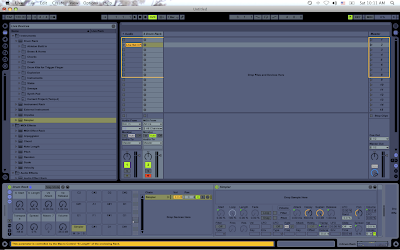
Also, if you would like the 2nd sample to shut off when you start the next one, you should probably put a CHOKE on this. So go to the IN/OUT icon on the left side of the drum rack, and then under choke, select 1. -
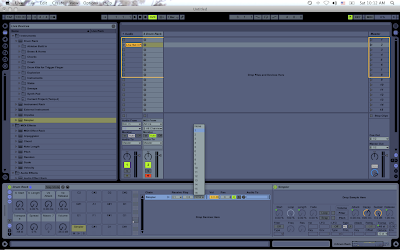
Now, the trick to this is WHERE YOU SAVE IT. You cannot just SAVE IT ANYWHERE. There is a special location it must be saved. Go up to your browser, and click ANYof the file icons (1,2,3). Then, select your ableton library -
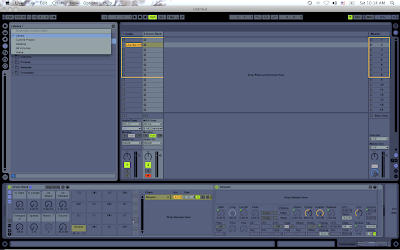
After that, select "defaults" and then "slicing". You will want to drag your drum rack into this folder and then name it. Mine is named MPC for Slicing -
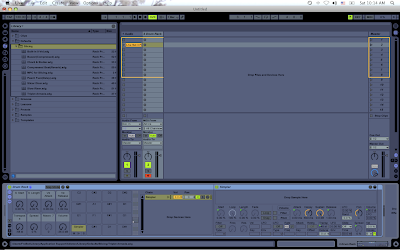
Now you can go ahead and DELETE that midi track. We dont need it anymore.
Now, you want to select a file that you would like to slice to midi. In the example, I have a short synth sample I layered and sequenced, and I am eager to see what stabs I can make out of it. Make sure you have your start and stop points where you want them to be within that sample. Also realize that if your sample is long, you cannot use the 1/16 or 1/32 options because your drum pad simply does not have enough spaces to put your sliced samples. So, crop your MAIN sample first before you do this. My sample is just within an audio track in my ableton set like this -
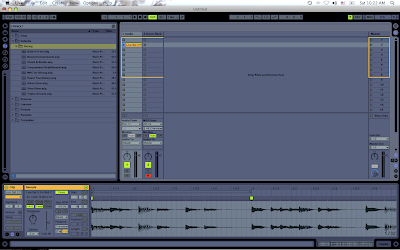
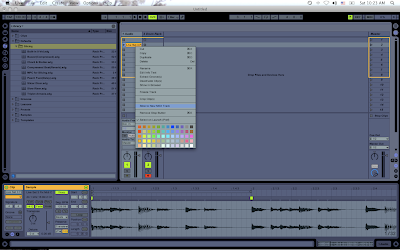
Now, you are going to want to RIGHT CLICK your sample and select "slice to new midi track" -
Next, the little box will show up asking you WHERE you want to make your slices. In my case in the following picture, I chose 16th notes. You can choose the transients, or whatever you would like. What is nice about this method, is that since you already made the preset to be able to control the start and length of the sample...its ok to choose larger sizes like 1/4 notes because you can shape the sample anyway once it is within your drum kit.
Now, in the second drop down box, you should see the preset that we just made. Again, mine is called MPC for Slicing -
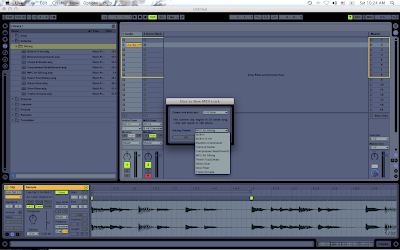 After you have selected that, click ok. This will now slice your sample into your drum kit preset. Mine looks like this -
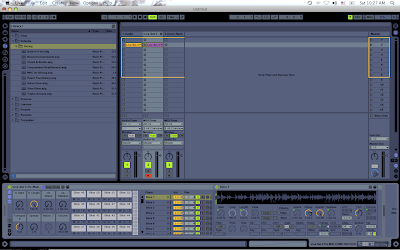
Now, all you need to do is MAP OUT your macros to a controller that you like, and you are good to go. I use my trigger finger for this, which conveniently has 8 knobs that match the macros section, which is really nice. You can control the parameters of each macro by clicking the green "MAP MODE" button, and editing them. One that I usually do is the "transpose"...because it goes from -48st - +48st....which is usually too much (unless I am getting crazy).
Anyway, using this method, you will have a much more HANDS ON approach to slicing your samples. By then SAVING your drum racks when you finished, you can save whole racks of crazy sounds that can be used in production later. This is where randomization comes into music a little. You can just rock out anything on a few synths, make a small beatless songs....slice it up, and then have your own set of 128 different stabs to use....or whatever you want to create!
I hope this helped! Keep making tunes!
Peace!
FroBot


5 comments:
Excellent Blog man! About this MPC style slicing - can the start and end point be different for each slice of the sample? Or when the start point is changed, does it affect all slices?
You can move anything you want. Just give it a try, and you will notice, it slices them up, but everything is able to be moved around!
Thanks, this is really good dude.
Cheers from Sweden!
This is excellent tweak! Thou it would be better if yuo could adjust individual macros for every pad. I wonder if this even possible on Ableton.
Dood, this is freakin awesome. I've been looking for something like this for a while. Thanks!!
Post a Comment